When you first start to send emails using a sparkling new IP address (or range of IP addresses), it is extremely important to up the ante when it comes to email best practices in order to keep your emails out of your recipients’ spam folders, even if you are simply switching email service providers.
The reason being, that a brand new IP address has absolutely no mailing history. Therefore, there is no way for an ISP to tell whether a new stream of email traffic is legitimate. The following guidelines will provide some insight on strengthening the reputation of your IP address (with some SMTP2GO-specific advice included).
Gradually increase your sending volume
Once you’ve verified your Sender Domains, you will need to gradually ramp up the number of emails you send out in order to avoid the risk of being blocked.
SMTP2GO pre-warms up dedicated IP addresses to a certain extent. However, if you suddenly send out 100,000 emails from a brand new SMTP2GO high volume (dedicated IP address) account, some ISPs may assume that your mail system has been compromised, and the emails will be blocked. Most ISPs have fail-safes in place that identify mass mailings from unknown IP addresses as spam.
In order to prevent your emails from being flagged, you will need to gradually increase your outbound traffic so as not to trigger the fail-safes. This is a simpler task if you are just starting a new campaign with a relatively small number of contacts, but rather more daunting if you’ve already established many business relationships and have just switched to SMTP2GO. In either case, the solution is similar; the only major difference lies in the numbers.
To ramp up outbound email traffic at an appropriate rate, make an estimate of the number of emails you plan to send out monthly, and then divide that number by 30. (Example: if you plan to send out 100,000 emails in your first month, divide 100,000 by 30, and send out around 3,000 to 4,000 per day, as a rough guide.) This is a slow process, but a steady stream of outbound emails gives a recipient ISP time to properly test the quality and nature of your email traffic, and build up a secret reputation figure for your IP address. Content and domain reputation is also very important, and this is likely to be built up at the same time as your IP reputation.
Alternatively, if you are already sending out a very large number of emails per month and are simply switching to SMTP2GO, you may not want to wait a full month to be able to send out your desired quantity of emails. In this case, it may be better to spend a month phasing your emails from the old ESP to SMTP2GO (thereby warming up the new IP in the process).
Monitoring results
One final point that seems obvious but is worth repeating is that your results should be monitored constantly. Any spam complaints from your emails can be seen in your SMTP2GO control panel, so you can find out immediately if your recipients are clicking on the ‘Spam’ button for your email in Hotmail, Yahoo, AOL, and others. You can also easily see your bounce rate. A high bounce rate can indicate problems with your mailing list, which can lead to bigger problems in the future.
Also worth noting is the fact that Return Path provides a way to view your exact inbox placement rate with most major ISP’s, however, to view those statistics you do need to become Return Path certified (which we can help with), but it does cost several thousands of dollars in most cases. A more DIY approach is to create an email address at the major email providers (Gmail, Yahoo, AOL, Outlook/Hotmail) and be sure to always include them in each of your mailings. You can then periodically check them to see if your emails are being placed into the inbox or the spam folder in each case.
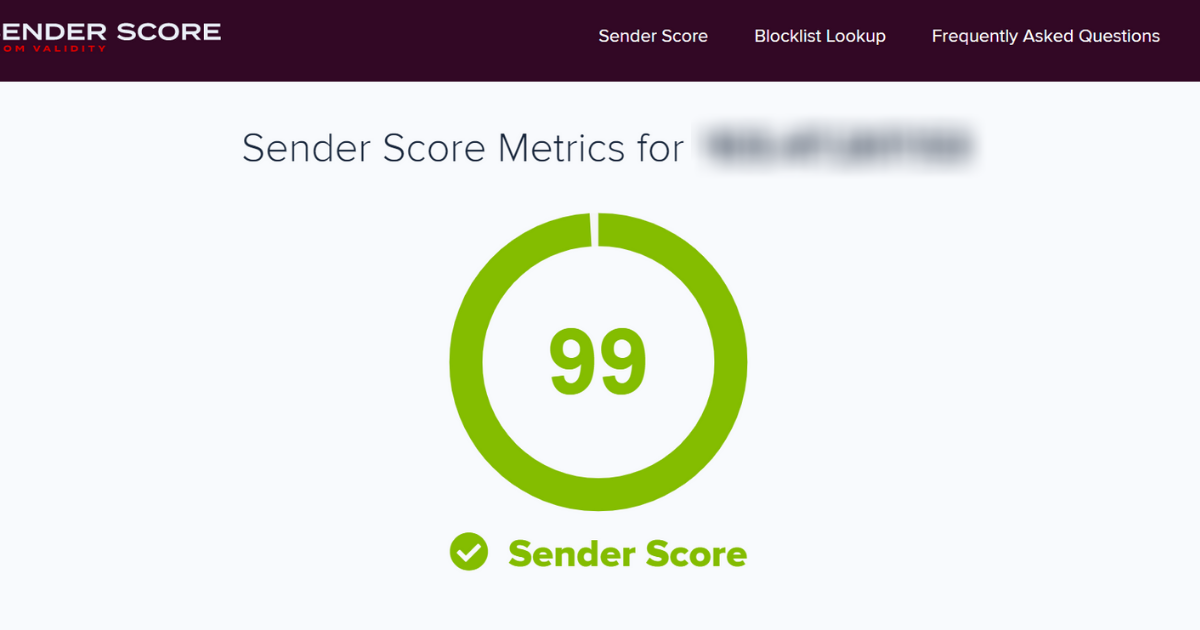
To get a good overall idea of your current IP address’s reputation, visit SenderScore.org (which is operated by Return Path) and search for your IP address. You’ll see a variety of statistics to accurately measure your current standing. If you are an SMTP2GO user, you will see the sender score link readily available within your account, under Settings > Dedicated IPs.


